Blackhole Mitigation
Go back to the BMIT Managed DDoS Shield Overview page
Purpose
Allows you to drop all traffic destines to a host or prefix that is under attack.
Viewing your Blackhole configurations
- Navigate to the MyBMIT web page and click on DDoS Mitigation (This will redirect you to your DDoS Mitigation)
- From the main page select the Mitigation drop down menu and select Blackhole
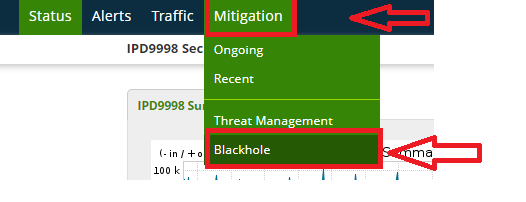
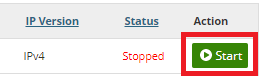
Once on the blackhole page, you will be able to view all blackhole mitigations configured which can be either in a start or stop state.
Creating a new Blackhole
To create a Blackhole follow the below steps:
- Click on Add Blackhole
Note
You will need to select IPv4 or IPv6
- Select IPv4

Note
Once selected you will be able to start the process of adding a blackhole. The following page will appear.
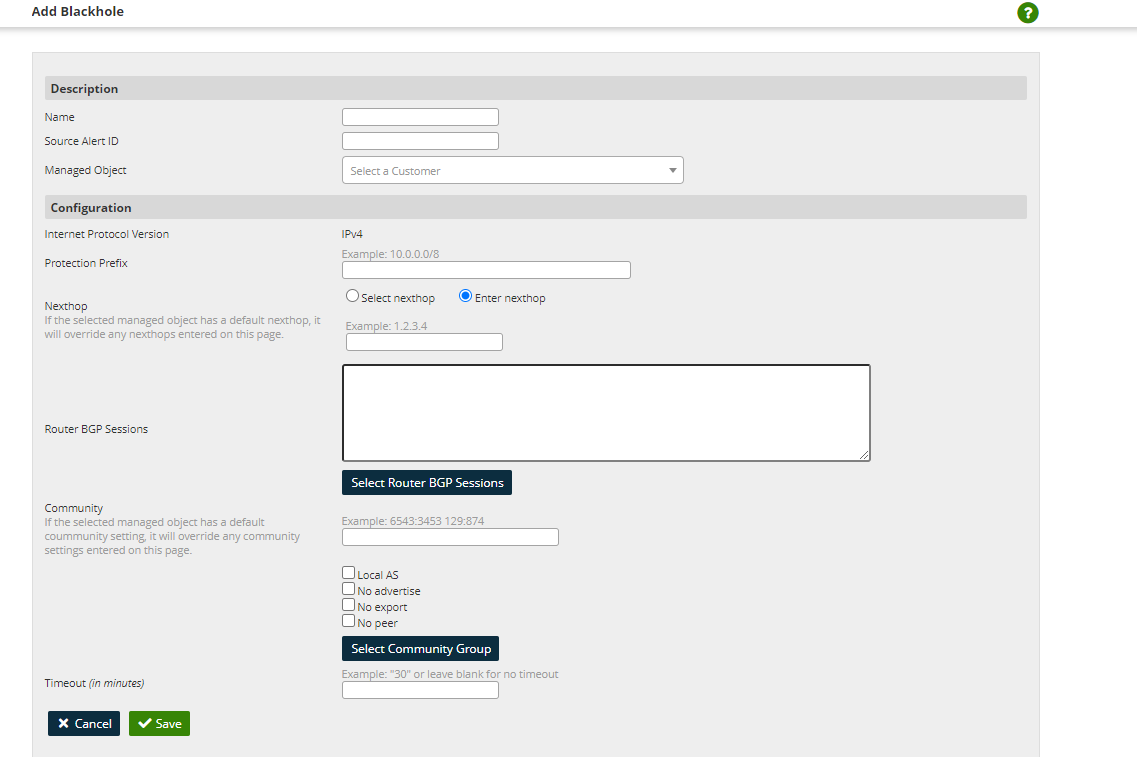
The first section is the Description section where one must delegate a name for the blackhole mitigation that is being created and select the managed object that will be used.
- Enter a name that will be used to identify the blackhole in the Name field.

- Select your managed object from the drop-down menu.

Note
You have an option to add an Alert ID. The following Alert IDs are pre-populated and can be found from the DoS Alerts. The DoS Alert ID No. will be associated to the following blackhole mitigation being created.

The next section to be filled is the Configuration, were all blackhole mitigation settings will be specified.
- Add the prefix that is being attacked. The prefix can be selected from the list provided
Warning
All traffic to the following prefix will be dropped.
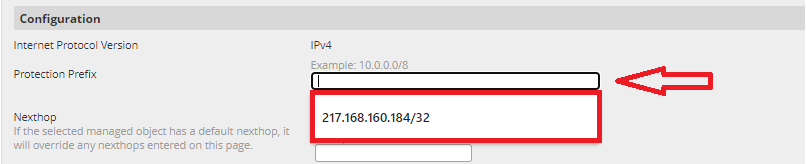
- Select Enter nexthop and type the prefix 78.110.30.149
Note
The above mentioned is required to be able to advertise the BGP Route of the prefix that is being attacked.

- Add the Router BGP Sessions by click on Select Router BGP Sessions

- Add the Community Value in the community field (20521:666)

Note
The above is required for Sightline to advertise the prefix that will be blackholed to the BGP Neighbors, for both Lumen and Telia routing tables.
- (Optional) - Add a timeout value which is in minutes, where the blackhole mitigation will expire after a period. If left empty the blackhole mitigation will not expire.

- Once all the above steps are complete, save the configuration by clicking on the save button.
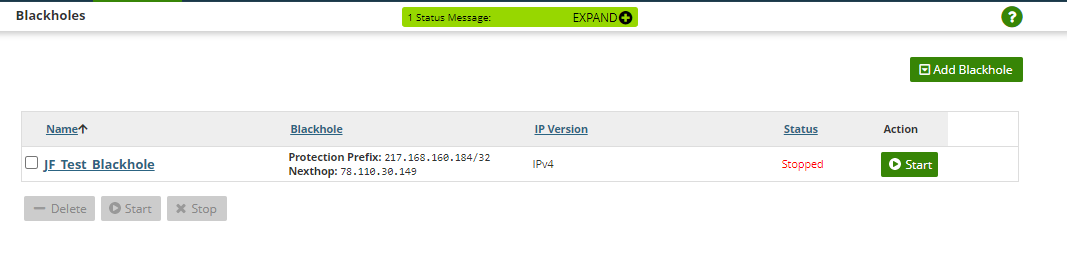
After configuration has been done you will be able to view the blackhole configurations from the blackhole mitigation page.
Activating Blackhole mitigation
Once a configuration is created you will be able to start the blackhole mitigation.
-
Navigate to the Mitigation > Blackhole section as mentioned in the beginning of the article.
-
Click on the Start button of the configuration you would like to start
Once started, Sightline will advertise the protected prefix with the attached community value 20521:666. The route is then received by def and itm routers.
If the route has community 20521:666, Telia Blackhole Community 1299:999 and Lumen Blackhole Community 3356:9999 will be set on the route and advertised to the carriers.
The carriers will then drop all traffic destined to the that IP once matched with their blackhole community.